Javscript would provide a navigation menu here. HOME
What you need
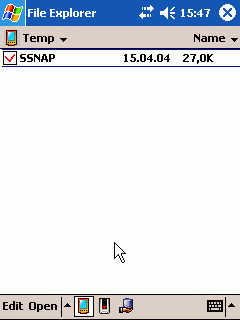
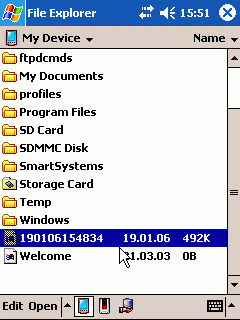
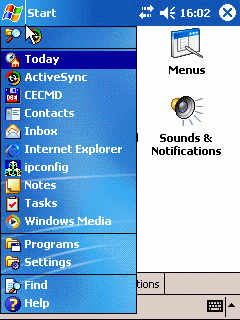
First copy SSNAP.exe to the device. Here we used the Temp directory.


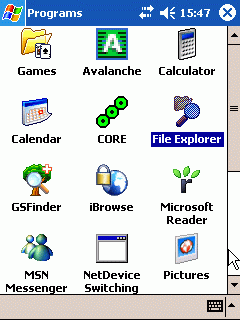
Then launch it just before the changes you would like to record. Use File Explorer to launch SSNAP.exe.
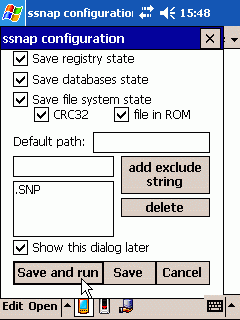
Normally you don't need to change any of the options. If you are sure, unselect all options except for 'Save registry state' and 'Show this dialog later'. Now tap [Save and run].
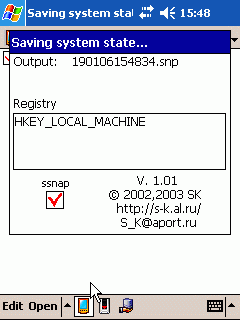
SSNAP will take a snapshot of your device object store and file system. You will get a .SNP file where the name is constructed of the date and time of the SSNAP launch. Here it is 190106154834.snp.
Now make the changes of your choice to the device settings. Do not change too much, or you will have difficulties to find them later. After the changes take a new snapshot. Use as less steps as possible to start the new snapshot. Here we change the Sounds&Notification settings as an example.
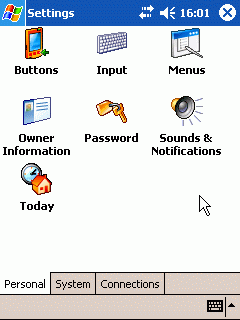
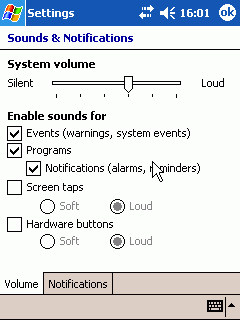
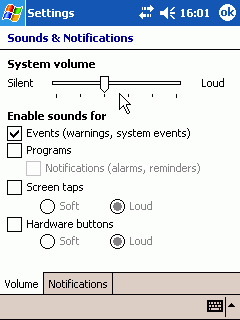
Now take the second snapshot. You will get a second file, here is is called "\190106160308.snp"
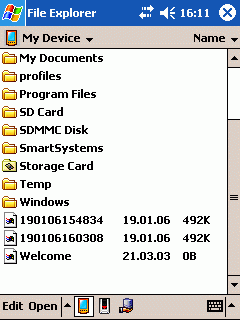
You must copy these two snap files to your desktop PC now and we will start to compare them. Before we can do so, we have to sort the files. SSNAP unfortunately does not sort the output and the files will be out of sync, so that you will hardly find all the important changes. To sort the snaps within regard of the sections in there, I have made a tool called SortSnap. It needs the DotNet framework 2.0. Download SortSnapSETUP, download SortSnap.exe only (if you already have NET framework 2 installed).
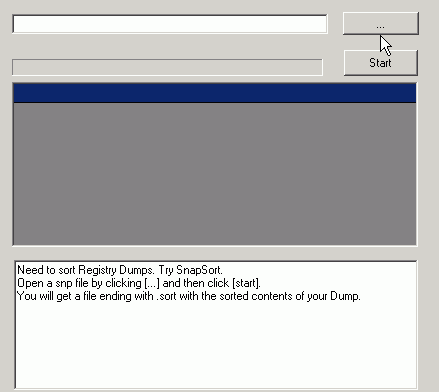
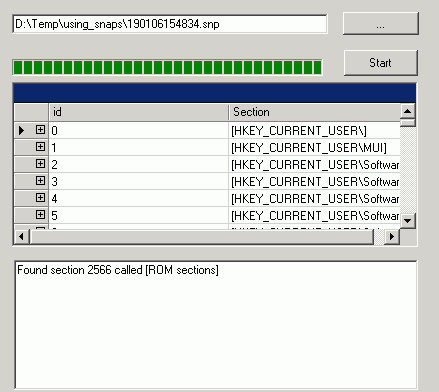
To get sorted snaps, run SortSnap and open the files by clicking the [...] button. Then click [Start] and the app saves a sorted version of the snp file with the extension .snp.sort. Please sort both (all) snp files before starting a comparision.
Now we can finally start to find the locations of the registry changes that were done by our setting changes on the device. Please run WinMerge now and select File-Open:
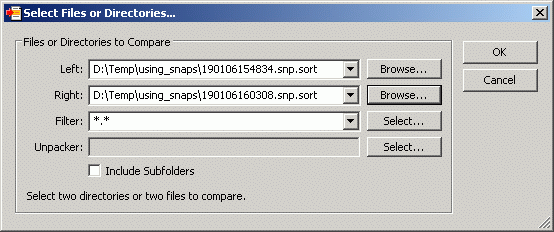
Locate the two snaps you would like to compare and click OK.
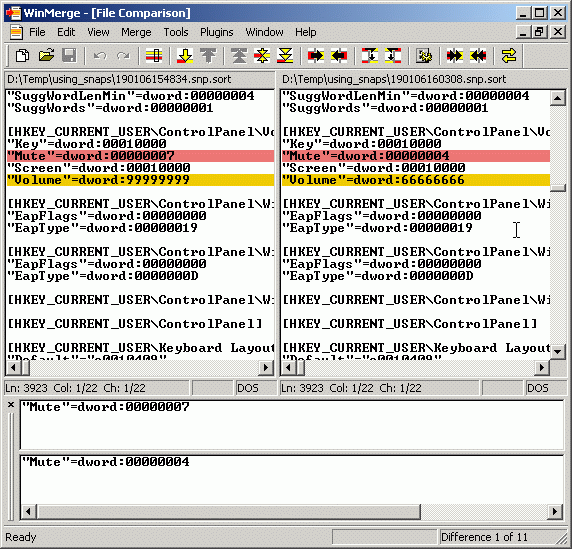
WinMerge loads the files and jumps to the first difference. And, wow, we have the first difference is indeed related to the change we did. ControlPanel\Volume has been changed from "Mute"=dword:00000007 to 00000004. For later use, we open an editor and copy the whole section for later use:
[HKEY_CURRENT_USER\ControlPanel\Volume]

"Key"=dword:00010000

"Mute"=dword:00000004

"Screen"=dword:00010000

"Volume"=dword:66666666
Now click on the down arrow in winmerge's toolbar to let it jump to the next difference.
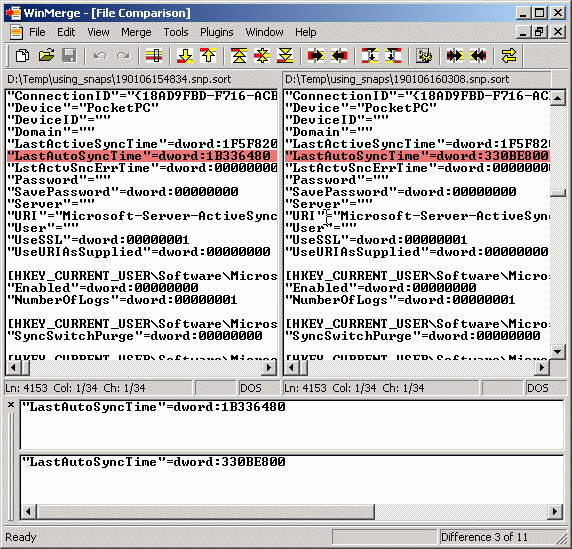
The difference in LastAutoSyncTime is not of interest for us, so jump to the next difference. There will be a change in the section [HKEY_LOCAL_MACHINE\SOFTWARE\Microsoft\Shell\Rai\:MSFEXPLORE], but this is also of no use. There maybe more changes, but all do not sound like having something in common with the changes we made to the device settings.
Now, we want to include these changes in a cab file, so these settings are changed automatically, if the cab file is installed. The regedit4 formatted file to get these changes looks like this:
REGEDIT4


[HKEY_CURRENT_USER\ControlPanel\Volume]

"Volume"=dword:66666666

"Mute"=dword:00000004

"Screen"=dword:00010000

"Key"=dword:00010000
You see, you can use the previously copied text and just put REGEDIT4 at top of the ASCII file.
The easiest way to get a cab with these changes, is to use OCP WinCE Cab Manager:
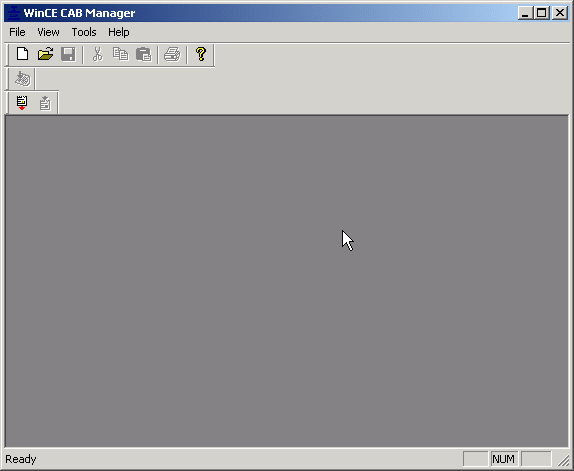
Simply click File-New and follow the wizard to get an empty cab.
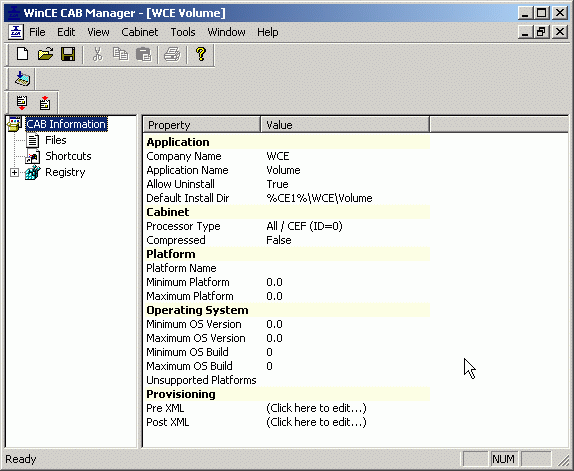
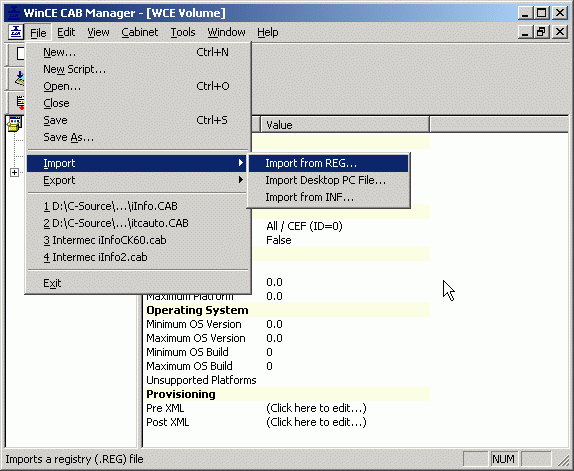
To avoid problems in early versions of CabManager, you should include at least one file in your cab. You can use any dummy file you like. To import our registry changes, you should name the ASCII file with the REGEDIT4 at top to a file with the extension .REG. In OCP now click file-import-From REG and browse for the REG file you created with the editor.
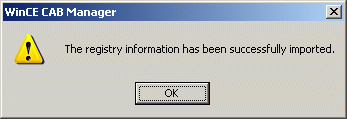
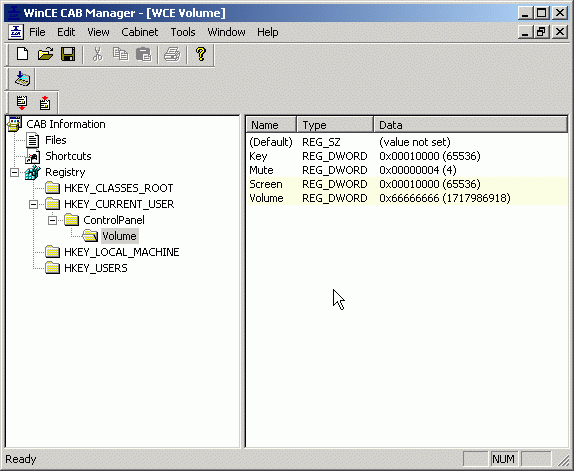
If everything is OK with your fileyou get a confirmation. You can browse the registry changes 'inside' the cab in OCP CabManager to check for the changes:
If you don't have CabManager, you must create an inf file according to the MS documentation. Unfortunately, the inf file uses a different format for the registry changes. Here is a sample inf which uses the file volume.reg as an dummy file:
[SOURCE FILE]

Name=WCE Volume.cab

Path=D:\Temp\using_snaps\WCE Volume.cab

AllowUninstall=TRUE


[Version]

Signature="$Chicago$"

CESignature="$Windows CE$"

Provider="WCE"


[CEStrings]

AppName="Volume"

InstallDir="%CE1%\WCE\Volume"


[CEDevice]

ProcessorType=0

VersionMin=0.0

VersionMax=0.0

BuildMin=0

BuildMax=0


[SourceDisksNames]

1=,Source1,,"[INSTALLDIR]"


[SourceDisksFiles]

"volume.reg"=1


[CopyFiles1]

"volume.reg",,,0x00000001


[DestinationDirs]

CopyFiles1=0,"%InstallDir%"


[AddRegistry]

HKCU,"ControlPanel\Volume","Volume",0x00010001,1717986918

HKCU,"ControlPanel\Volume","Mute",0x00010001,4

HKCU,"ControlPanel\Volume","Screen",0x00010001,65536

HKCU,"ControlPanel\Volume","Key",0x00010001,65536


[DefaultInstall]

CopyFiles=CopyFiles1

AddReg=AddRegistry
With this inf file, you can create a cab using the cabwizard to get a cab file:
Cabwiz.exe" "WCE Volume.inf" /dest "WCE Volume" /err "errorlog.txt"
For more information on cab file creation see also Making a cab file.
Last change: 19. jan 2006